How to integrate an email signature in Spark
Step 1: Access Settings
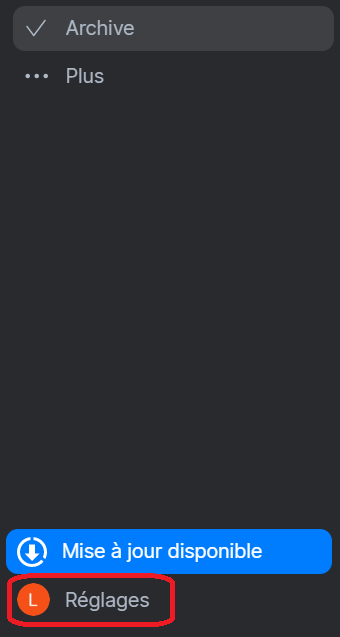
1. Open the Spark Desktop application.
2. Click on your icon at the bottom left to open the settings dropdown menu.
Step 2: Access Signature Settings
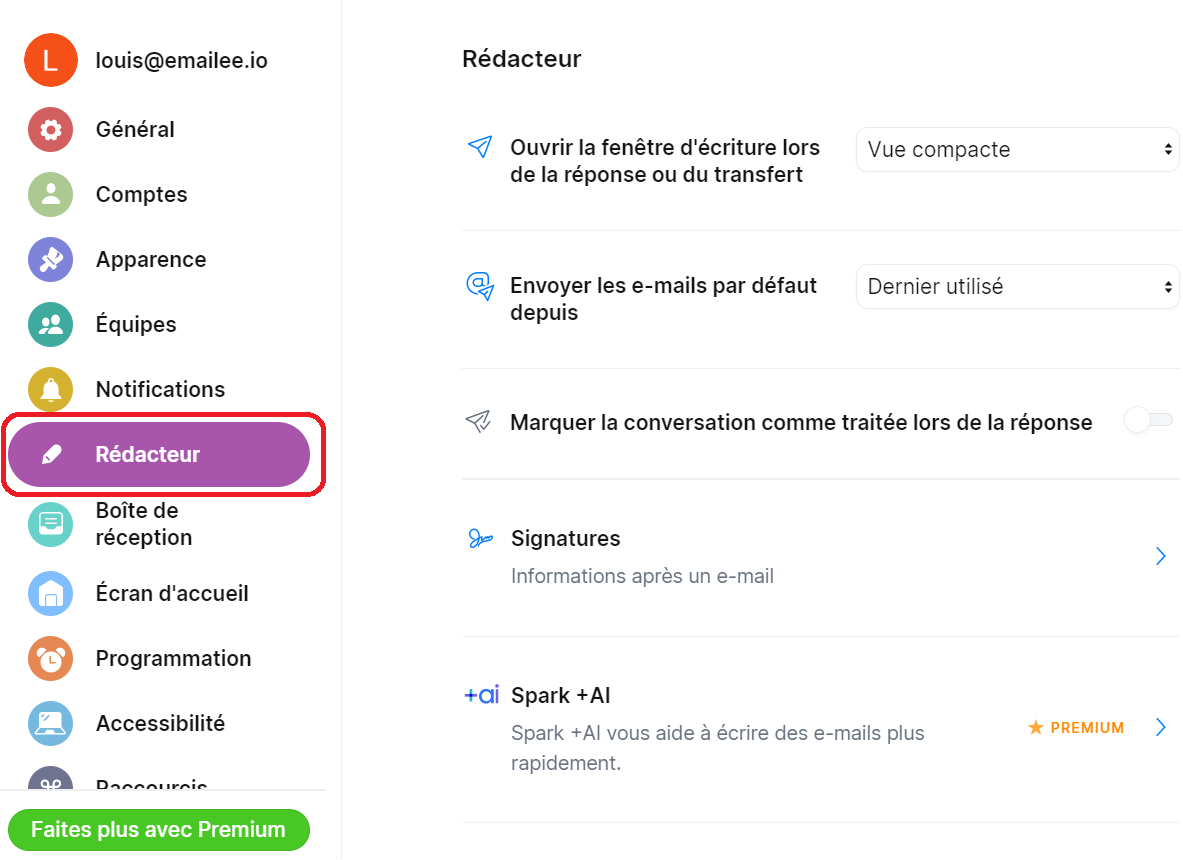
In the Preferences menu, select "Composer" from the sidebar.
Step 3: Activate the Signature
1. Select the "Signatures" checkbox.
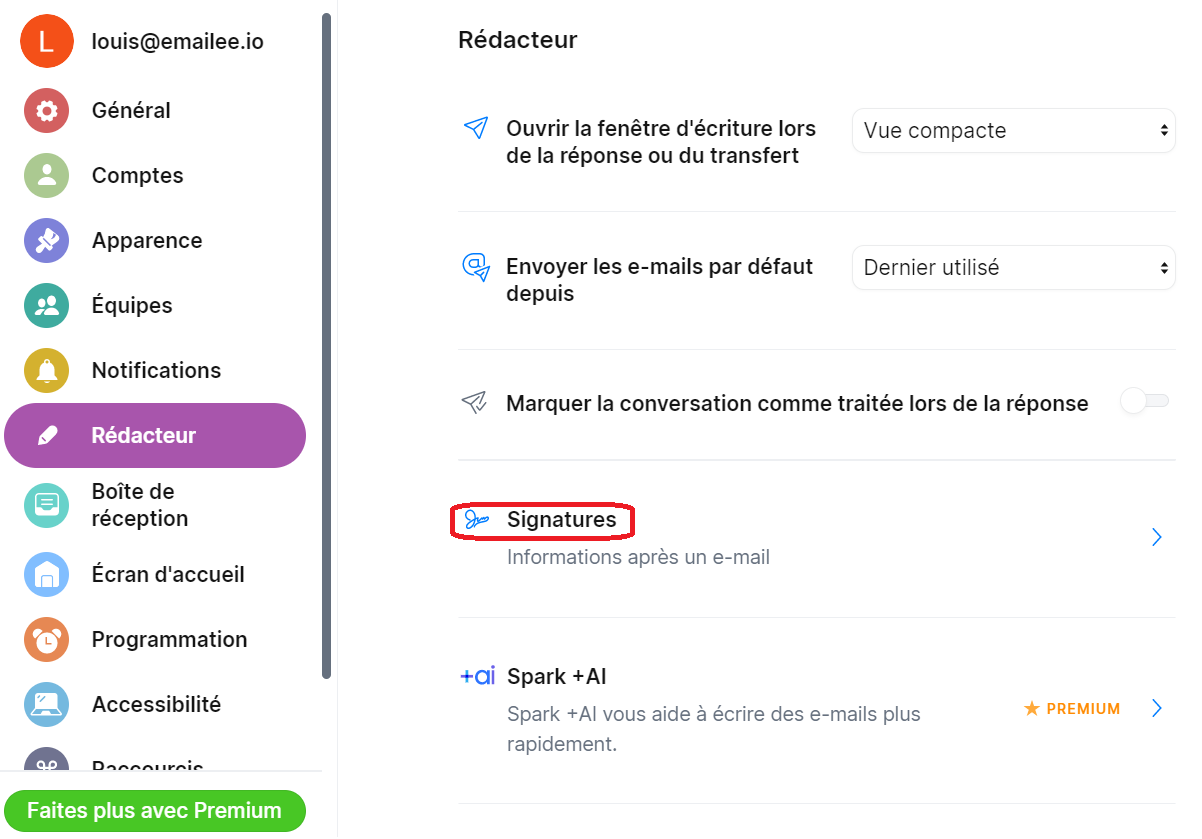
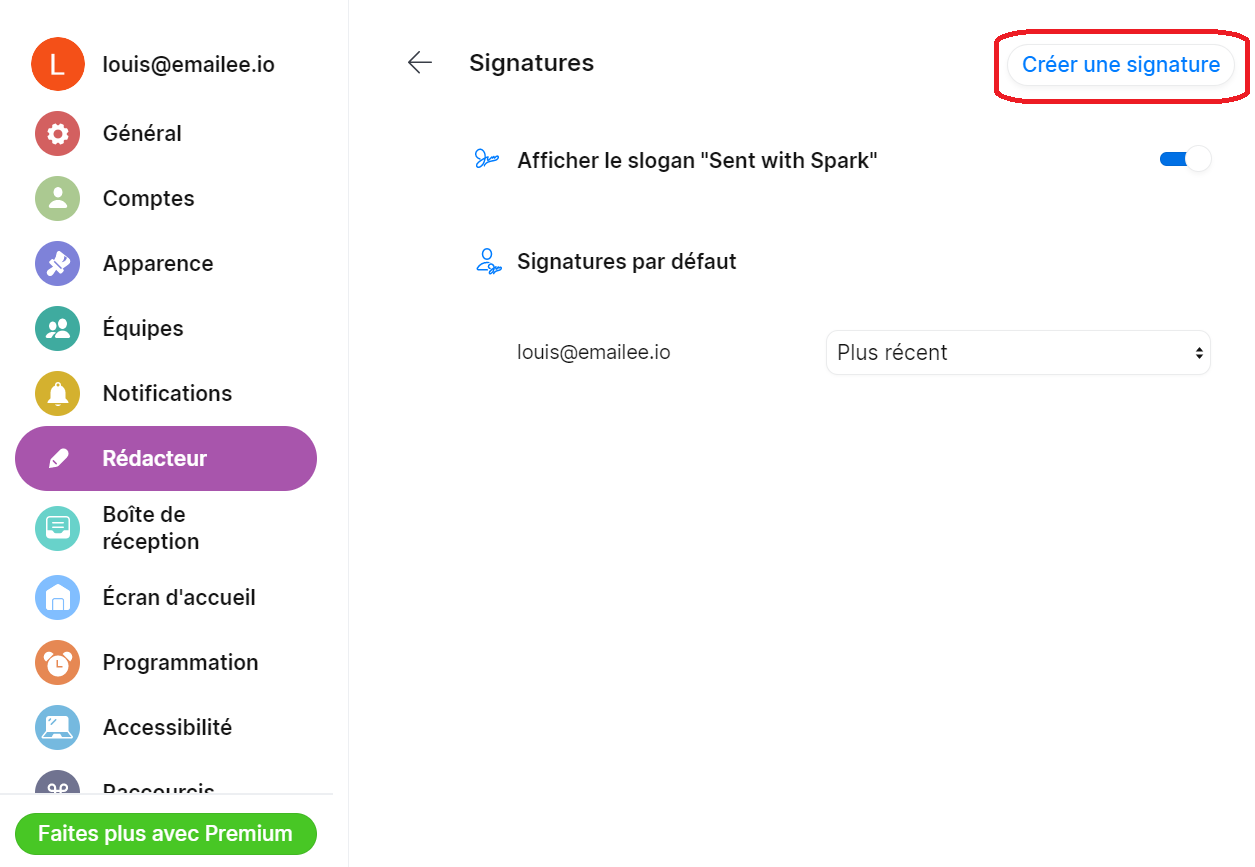
2. Then press "Create a signature".
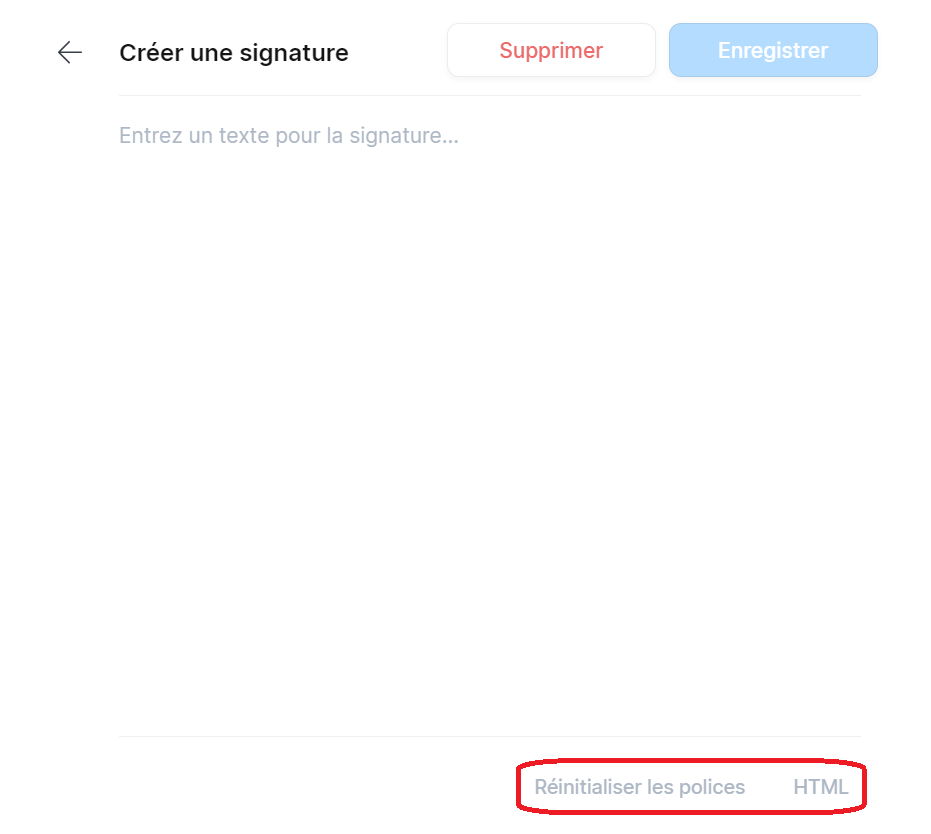
Step 4: Paste the Signature in Spark
1. Return to the signature settings page in Spark.
2. In the signature text box, paste the generated signature (Ctrl + V or Cmd + V) or insert the copied signature.
2.1 Spark will automatically resize the signature to the correct format. You can select "Resize" if asked.

Step 6: Save Settings
Once the signature is as desired, click the "Save" button at the top of the window.

Step 7: Test the Signature
Create a new message to verify if the generated signature appears correctly.
Congratulations! You have now successfully configured a generated email signature using a generator on Spark Desktop.